“The camera is a tool to capture a moment, and the art of restoration is a tool to give it back.”
Photo restoration isn’t just about fixing old photos—it’s about bringing memories back to life. A faded portrait from the war, a treasured family snapshot, or a forgotten moment tucked away in an old album all tell a story. As a restorer, my job is to listen to those stories and make sure they can be heard again.
To do this, I use a specific set of tools, each one playing a crucial role in my workflow. My process is a blend of technical skill and artistic care, designed to treat every image with the respect it deserves.
Ready to see how I do it? Here’s a look at the software that helps me honor these irreplaceable memories.
Restoration Toolbox
My Go-To Tools for Faithful Repair
Adobe Photoshop: The Core of My Workflow
Adobe Photoshop is the centerpiece of my entire restoration process. It’s the primary tool I use from start to finish, acting as my digital canvas for every edit.
Here’s how I use it to bring new life to old photos:
Layer-Based Editing: This allows me to make precise, non-destructive adjustments, giving me complete control over every element of the image without affecting the original.
Repair Tools: I rely on Photoshop’s powerful healing and clone tools to seamlessly remove tears, scratches, and other imperfections while maintaining the photo’s original integrity.
Masking and Blending: These features are essential for preserving the authentic texture and detail of a photo while making subtle enhancements to improve clarity and appearance.
Color and Tone Correction: Using these tools, I can faithfully restore faded colors and tones, ensuring the final image looks as natural and true to its original state as possible.
In my hands, Photoshop isn’t just a piece of software—it’s where the technical work of repair meets the emotional work of memory.

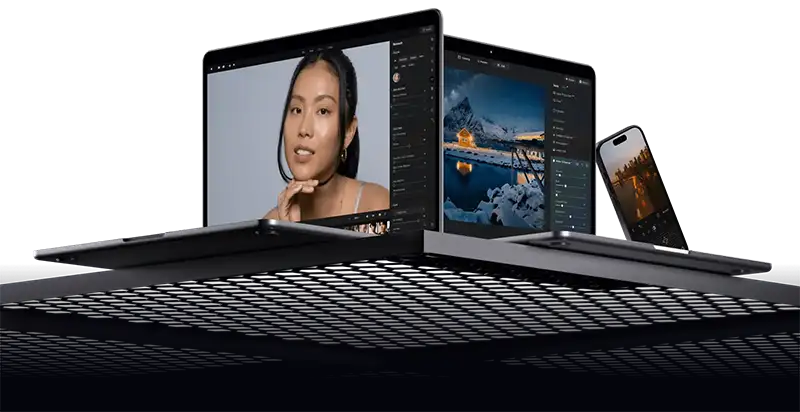
Luminar: Adding Color and Light with Care
When a photo needs more than just a simple touch-up, I turn to Luminar. This software specializes in enhancing the overall feel of an image through careful adjustments to color and light. It’s the perfect tool for when a photo is just a bit dull and needs a pop of life.
I use Luminar to:
Color Grade for Mood: This allows me to subtly shift the colors to restore a specific feeling or atmosphere.
Enhance Lighting: I can adjust the light in an image without washing out important details like skin tones and fabric textures.
Use AI-Powered Tools: Luminar’s AI features help me make smart, natural-looking enhancements that always respect the original photo’s integrity.
Luminar truly shines when I’m working on portraits with natural light or outdoor scenes where I need to bring back a sense of life without overdoing it.

Experience Photo Restoration Excellence Pay Only If You're Satisfied
Allow our experts to restore your damaged photos with precision and care - satisfaction guaranteed!
You only pay if you are completely satisfied with the results.
It's Simpler Than You Think
1.Get Free Quote
2 Place Your Order
3. Receive Restored Photo
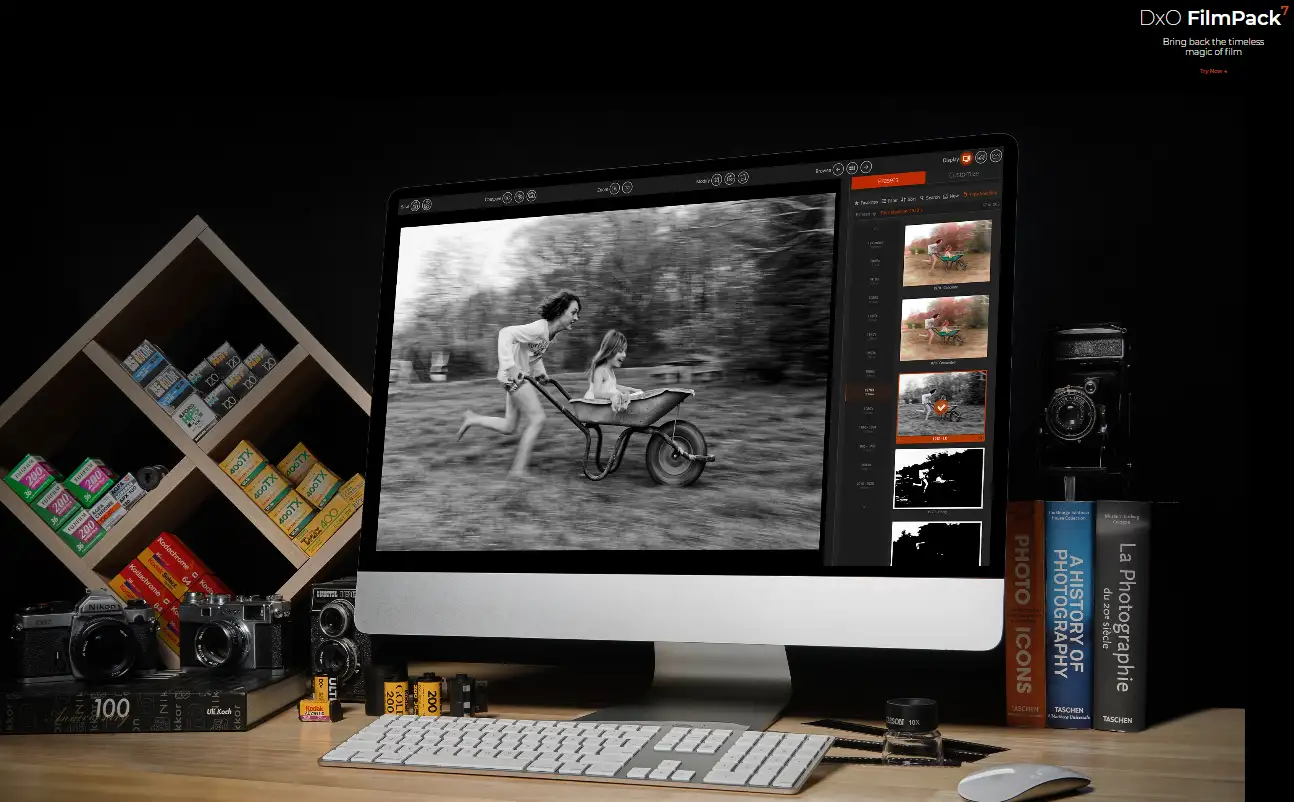
DxO FilmPack: Achieving an Authentic Film Look
When a client wants their restored photo to have the authentic feel of a specific film, I use DxO FilmPack. This software is perfect for recreating the classic look of different film stocks, bringing a unique historical texture to the final image.
I rely on it for:
Accurate Film Emulations: I can apply the true-to-life characteristics of classic films like Kodachrome, Fuji, and Agfa to match a specific look or era.
Organic Grain and Tone: Unlike simple digital filters, the grain and tone adjustments here feel completely natural, adding to the photo’s authenticity instead of making it look artificial.
Historically Accurate Colors: The color rendering is designed to respect the palettes and tones of different historical periods, ensuring the restored image looks genuinely a part of its time.
Using DxO FilmPack is about more than just nostalgia; it’s about ensuring the image has historical and artistic integrity.
DxO ViewPoint: Correcting Perspective Flaws
Scans from mobile phones or older cameras often come to me with skewed or distorted perspectives. DxO ViewPoint is my go-to tool for this, allowing me to make precise, subtle corrections that are essential for a professional finish.
I use it to:
Correct Perspective: I can make the photo sit square and true, eliminating the awkward tilts and angles common in phone scans.
Restore Symmetry: This is especially useful for group photos or architectural shots where symmetry is key to the image’s balance.
Preserve Proportions: Most importantly, I can correct the perspective without stretching or warping faces, a crucial detail for maintaining the natural look of the people in the photo.
This tool makes a quiet, yet world-of-a-difference fix, ensuring the final image looks perfectly balanced and natural.

Free Photo Prints with Every Photo Restoration
Take Advantage of Our Exclusive Offer! When you use our photo restoration service, you’ll receive a free print of each restored image. Don’t miss this opportunity to revive your cherished memories with a stunning, high-quality print at no additional cost. Act now and book your restoration service!
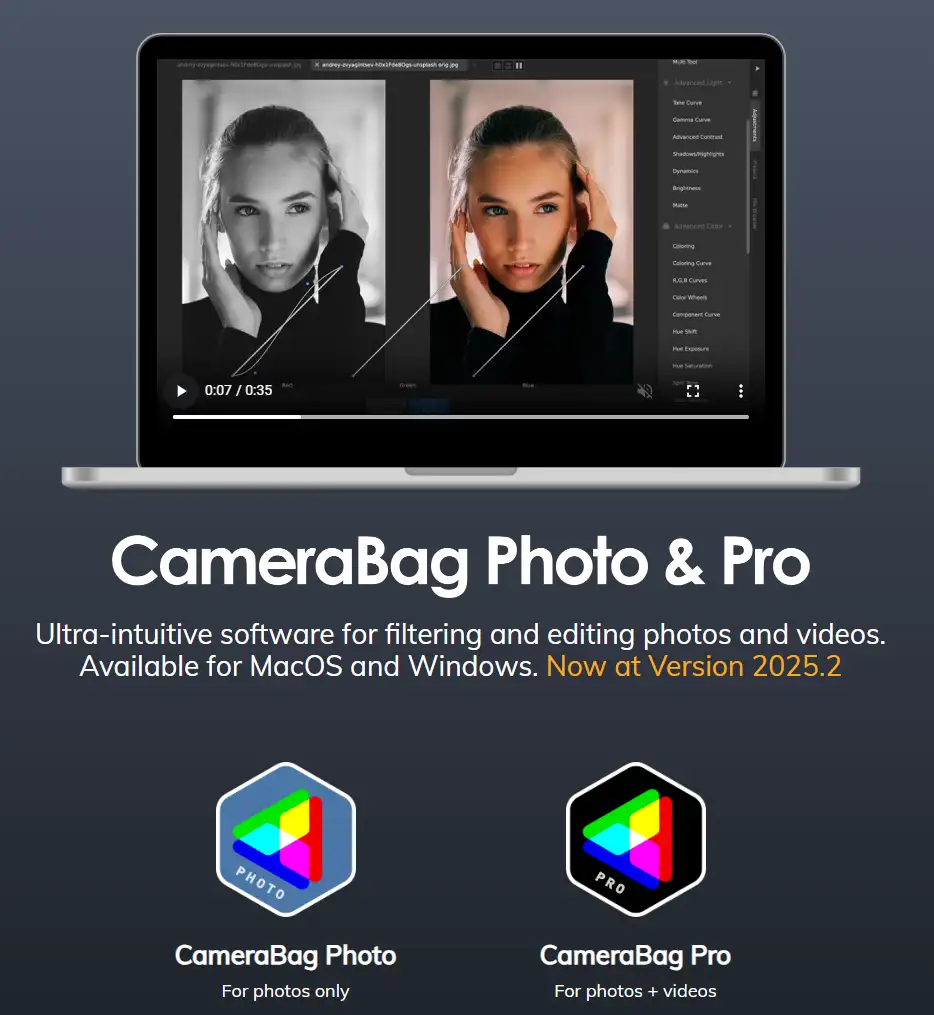
CameraBag: For Targeted Color and Tone
When I want to set a specific emotional tone or color mood for a photo, I use CameraBag. It’s the perfect tool for applying focused color grades, whether I’m aiming for a classic sepia warmth, a cool archival look, or a cinematic feel.
I use this software to:
Apply Presets: I can quickly apply and customize a variety of high-quality presets, giving me a head start on the desired look.
Preview Edits: The instant previews let me see how different color moods will affect the emotional impact of an image before I commit to any changes.
Integrate Smoothly: The edits I make in CameraBag are non-destructive and can be seamlessly integrated into my main Photoshop layers, making my workflow efficient and flexible.
Essentially, CameraBag allows me to quickly and effectively establish the emotional tone of a restored photograph.
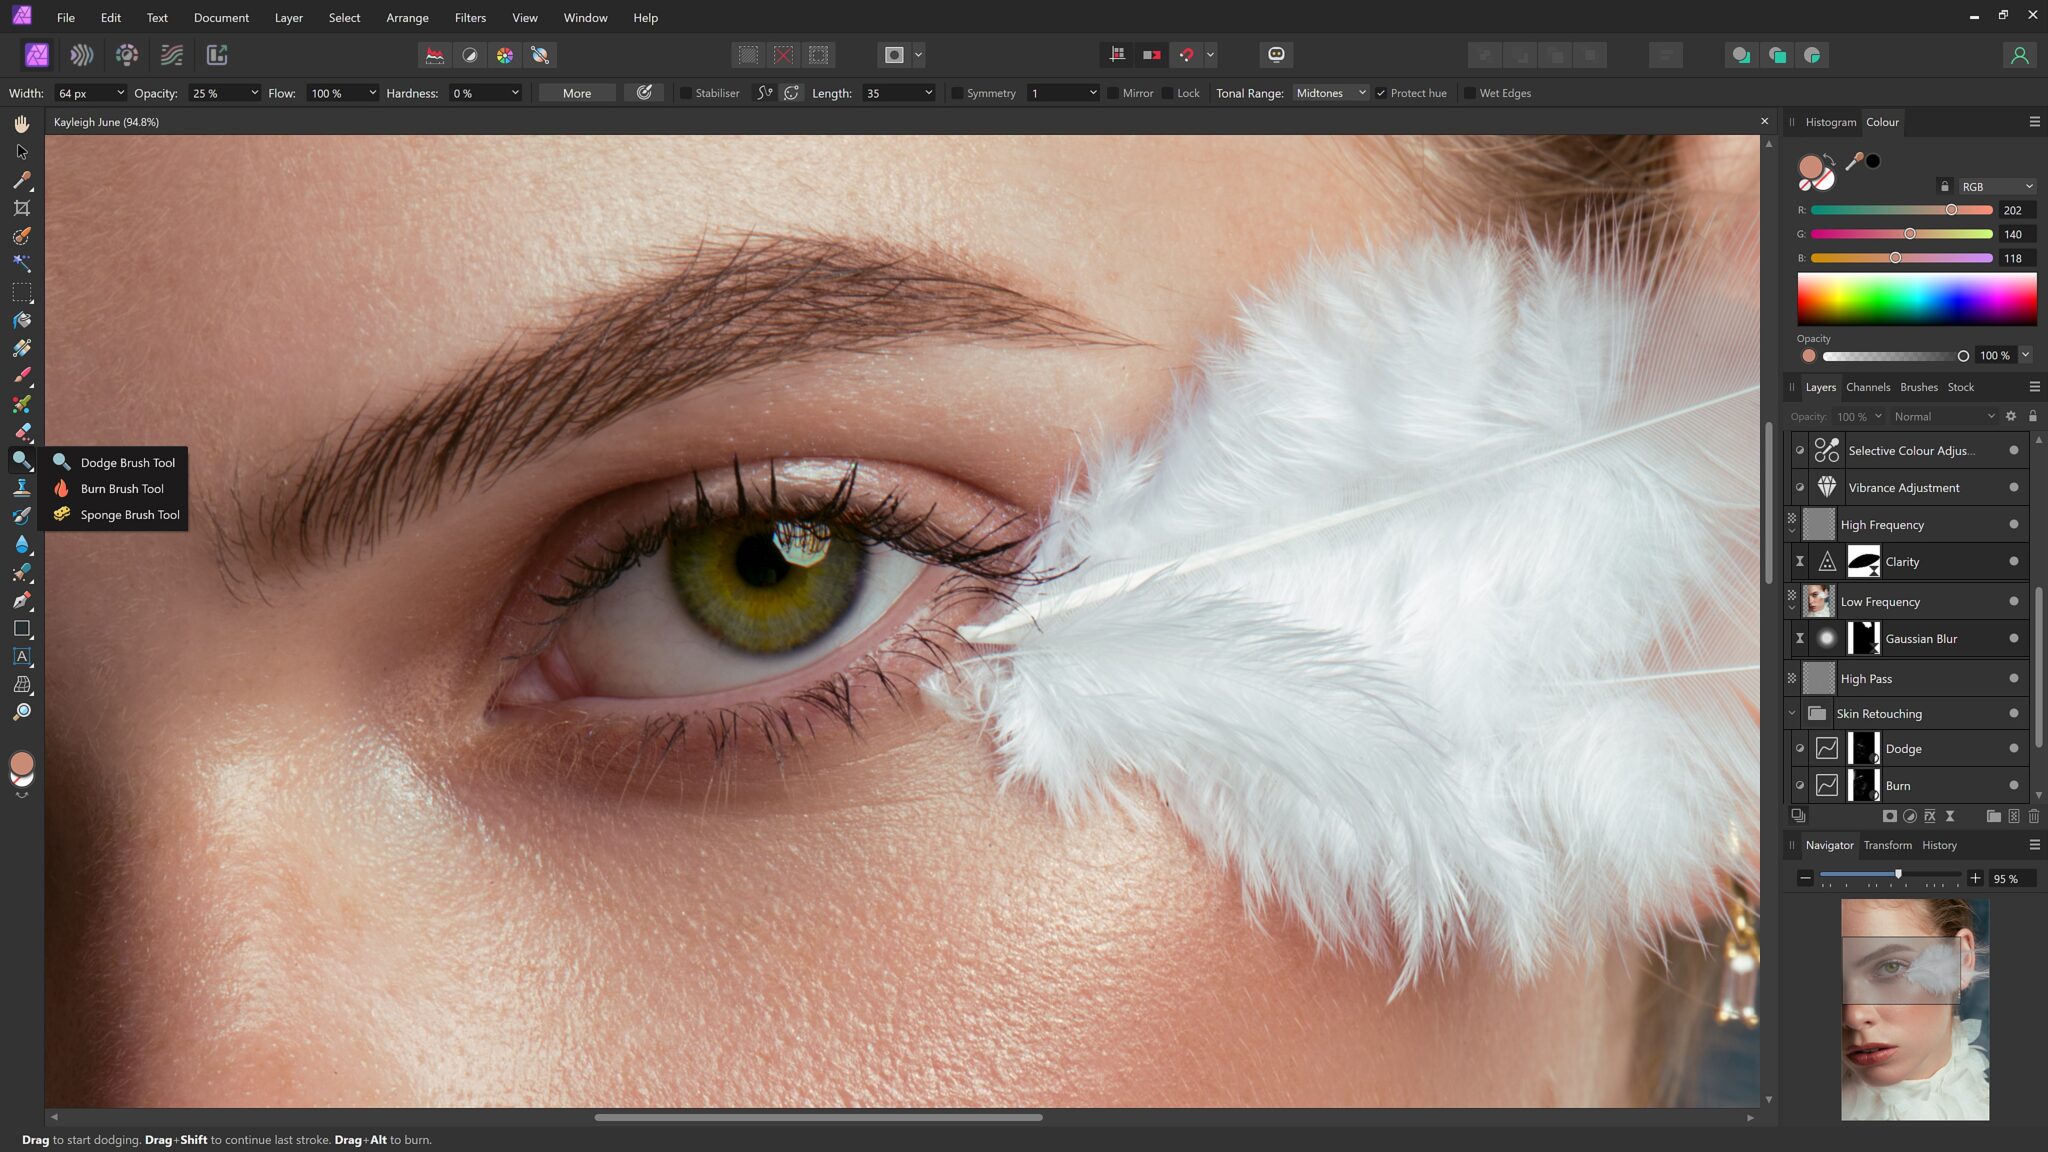
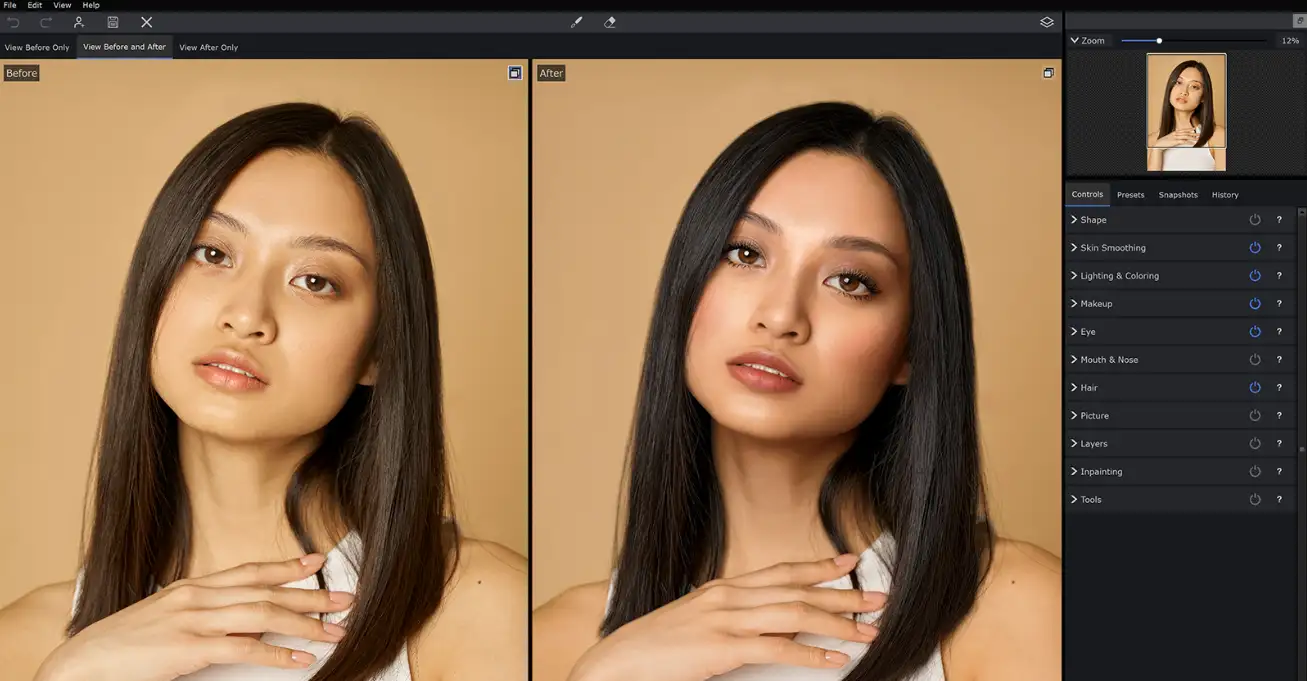
Affinity Photo & PortraitPro: Respectful Skin Retouching
When it comes to restoring portraits, I approach skin with the utmost care. The goal isn’t to create a flawless, plastic look, but to honor the person and their story. For this, I use a combination of two powerful tools.
Affinity Photo is my primary choice for detailed, manual retouching. I use it to carefully preserve natural skin textures, ensuring that every wrinkle and freckle looks authentic and respected.
PortraitPro is great for subtle, AI-powered enhancements. It’s particularly useful for group photos or formal portraits where a gentle, consistent touch is needed without a lot of time-consuming manual work.
Together, these tools help me bring clarity to a face while preserving the dignity and character that make a portrait truly special.
Topaz Photo AI & Gigapixel: Bringing Back the Detail
Sometimes, a photo arrives in my studio as a low-resolution file or a degraded print, with all its fine details blurred or lost. This is where Topaz Photo AI and Topaz Gigapixel become invaluable. These two tools are masters at recovering what seems to be gone forever.
I use them to:
Upscale without artifacts: This allows me to increase the size and resolution of an image without introducing the pixelation or blur that often comes with standard upscaling.
Recover lost details: These tools can intelligently “rediscover” lost information in crucial areas like a person’s eyes, the texture of a piece of fabric, or the intricate details in a background.
Gently sharpen: They sharpen the image just enough to restore clarity without creating a harsh, artificial look.
These are especially powerful when working with old newspaper clippings or small, archival prints, where bringing back even the smallest detail can make a huge difference.


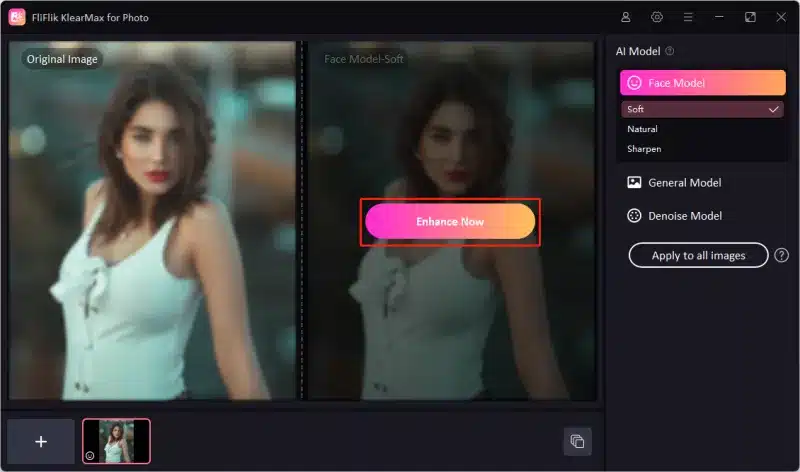
HitPaw FotorPea, & FliFlik KlearMax: My Secret Weapons
While I have my go-to software, there are times when a unique problem calls for a more specialised solution. This is where a few lesser-known tools in my kit truly shine.
These are fantastic for its versatile noise reduction and sharpening, which can salvage images that are otherwise too grainy or blurry.
They act as powerful, alternatives for quick, targeted edits without needing to open a full software suite.
Are gem for there ability to quickly refine and enhance the fine details in images, especially those that have been degraded over time.
While these tools aren’t part of my everyday workflow, they are indispensable for handling specific challenges. They are the hidden gems that allow me to go the extra mile and restore an image to its full potential.

Weaving It All Together
While each of these tools are great but on there own the lack this is why Photoshop remains the central hub of my operation. It’s where I bring every piece together, layering and blending the different adjustments until the image feels whole and authentic.
My goal isn’t just to repair a photo—it’s to honor it. Restoration is a blend of technical skill and emotional care. It’s about listening to the story each image has to tell and giving it the voice it deserves.
We revive photos, videos, and documents with care, precision, and purpose.
More Than Just Photo Restorations
No format too old. No memory too unique. Videotapes, 8mm reels, slides, photographs
We revive photos, videos, and documents with care, precision, and purpose.
More Than Just Photo Restorations
No format too old. No memory too unique. Videotapes, 8mm reels, slides, photographs
