DIY Tools For Photo Restoration
DIY Tools for Photo Restoration: Build Your Own Restoration Toolkit
Restoring treasured photographs isn’t just about technique—it’s about honor. Whether you’re preserving generational memories or rejuvenating fragile prints, the tools you choose speak to the level of care you bring to the task. Here are some essentials we recommend to build your personal restoration station.
Each product below includes an affiliate link that helps support our business—thank you for walking this restoration journey with us.
Handling & Cleaning: The Prep Work
Handling Photos, Slides & Film: Preserving What Can’t Be Replaced
Old photographs are more than images—they’re artifacts of memory. When working with vintage prints, film, or slides, careful handling is essential to prevent permanent damage.
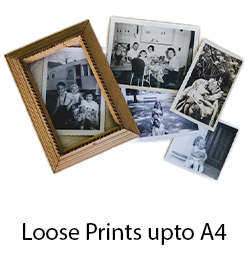
Removing Photos from Albums or Glass
Peeling an old photo off a sticky album page or glass frame is risky. Emulsions (the image layer) may already be fragile due to humidity, age, or past adhesives.
Tips for Safe Removal:
Avoid force: If a photo is stuck, never pry with fingernails or metal tools.
Use humidity strategically: Try placing the photo in a sealed container with slightly moist (not wet) blotting paper nearby to relax the adhesive.
Freeze method: For photos stuck to glass, placing the item in a freezer for a short time can sometimes loosen the bond by contracting the emulsion.
Scan through glass (only if safe): If removal isn’t possible, scanning through clean glass with proper lighting may preserve the image digitally before removal.
🛑 Note: Always test techniques on low-value items first. Preservation is key.
White Cotton
Gloves
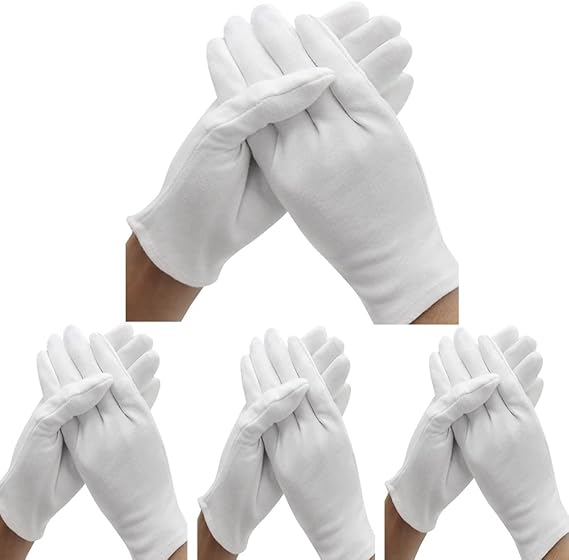
Photos are vulnerable to skin oils and pressure. These gloves prevent accidental transfer of moisture, fingerprints, or surface damage.
How to Use: Wear gloves before touching any vintage photo. If you need to adjust placement on a scanner or lift a fragile print from a sleeve, gloves maintain a barrier of respect.
Dust and Hair
Brush Kit

Dust can distort digital scans and permanently harm delicate surfaces.
How to Use: Use the soft brush first to gently sweep debris off prints and scanner glass. Follow with an air blower or dry cloth for static particles. Avoid compressed air unless photos are mounted.
Cleaning Dust & Hair Before Scanning
Even a small hair or speck of dust can ruin a scan or scratch a delicate negative. Proper surface cleaning ensures crisp images and protects your equipment.
Recommended Tools & Techniques:
Soft brush kit: Use anti-static brushes to sweep debris from prints and scanner beds.
Air blower: Gently blow away loose dust without moisture or force.
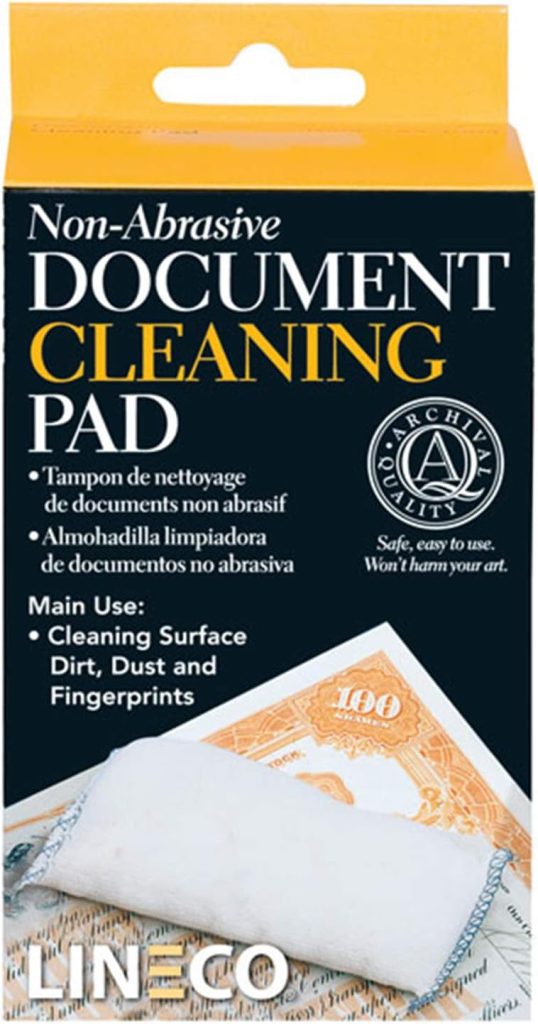
Document cleaning pad: For matte prints or documents, lightly dab to lift grime.
Gloves first: Always wear white cotton gloves to avoid oil transfer and static buildup.
🧼 Be patient and consistent—rushing the cleaning process often causes more harm than good.
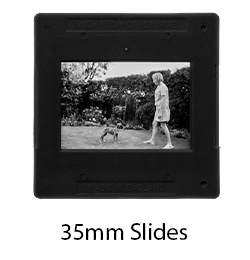
Slides & Film Handling
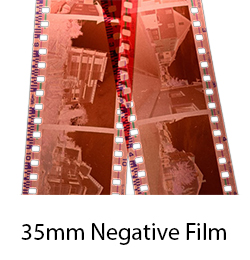
Film and slides are especially vulnerable to scratches, fingerprint oils, and fading.
Best Practices:
Handle only by the edges—avoid touching the film’s surface.
Use archival sleeves or anti-static containers for storage.
Clean with blower brushes only; avoid liquids unless professionally trained.
Scan using holders that prevent curling or bowing (e.g. Epson V850 Pro’s film trays).
🧊 Pro tip: Avoid scanning in direct sunlight or overly warm environments—heat can warp film temporarily.
A Message Behind the Method
Each photo is a whisper from the past. Handling it with care not only preserves its physical form, but honors the story behind it. In our restoration work, we see this not as a task, but as a stewardship—a practice done with precision, patience, and prayerful respect.
Archival Storage: Preserving the Originals
Archival Storage: Protecting Memories for Generations
Restoration isn’t finished when a photo looks beautiful again—it’s finished when that photo is stored safely, ready to endure time. Without proper storage, even a perfectly restored image can fade, curl, or become brittle. That’s where archival tools come in: simple, effective, and deeply respectful.
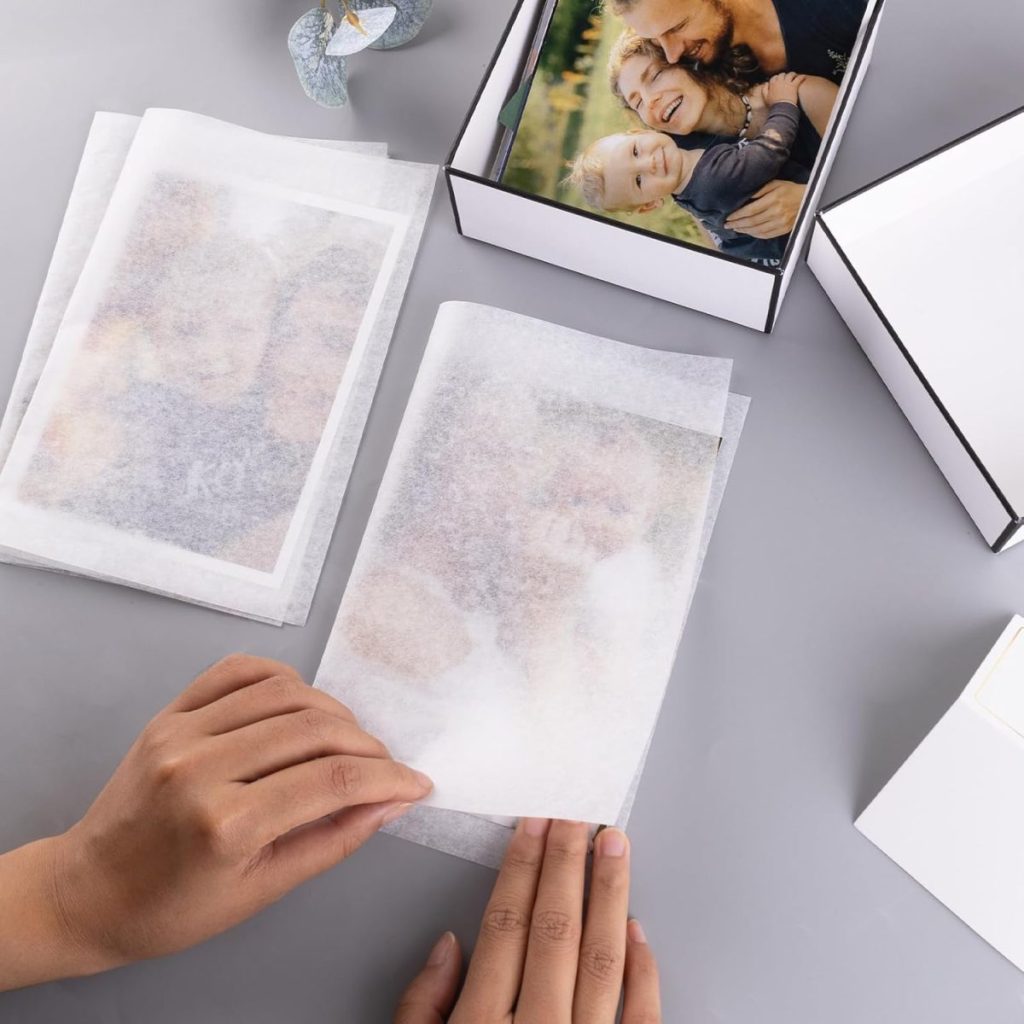
Acid-Free Tissue Paper
Acid-free tissue paper is your frontline defense against chemical damage and abrasion. Ordinary paper contains acids that, over time, can degrade photographic emulsions and discolor prints.
Why It Matters:
Prevents yellowing, sticking, and chemical transfer
Creates a breathable separation layer between prints or documents
Ideal for stacking photos without direct contact
How to Use:
Cut sheets to match photo sizes
Layer between prints in albums, envelopes, or storage boxes
Wrap fragile documents or curled photos for added cushioning
Photo Archival Box

Photo Archival Box with Reinforced Edges
A quality photo storage box shields against dust, humidity, and physical crushing—especially if it has reinforced corners and walls.
Why It Matters:
Boxes without structure can bow under weight or collapse when stacked
Photos stored in humid conditions can warp, stick, or fade
Reinforced archival boxes resist external pressure and maintain their shape
How to Use:
Store photos flat (not standing) in sleeves or separated by tissue
Label dividers with dates, themes, or family names for easy access
Keep the box in a cool, dry space away from direct sunlight
A Faithful Finish
Preserving restored images isn’t a side step—it’s part of the same loving process. We treat these final choices like a benediction: sealing the story with care so it can be passed down whole. Whether you’re archiving a single image or a full family legacy, storage matters.
Scanners: The Heart of Your Digital Darkroom
Scanning with Intention: Why It’s Not as Simple as You Think
At first glance, scanning a photo seems easy—place it, press “scan,” and you’re done. But when the goal is true restoration, lasting preservation, and future creative freedom, scanning becomes a thoughtful and technical process. A poor scan limits what you can do next. A great scan opens the door to editing, printing, enlarging, and sharing—without quality loss.
Here’s why scanning needs more care than most realize:
Resolution Matters—A Lot
Low-resolution scans (e.g. 300dpi) might look fine on screen—but when it comes time to print, restore, or zoom in for edits, they break apart. You lose clarity, introduce blurring, and risk pixelation.
Best Practice:
Scan at 600–1200 dpi for prints
Scan at 2400 dpi or higher for film or slides
Always save your original file in lossless formats like TIFF for editing flexibility
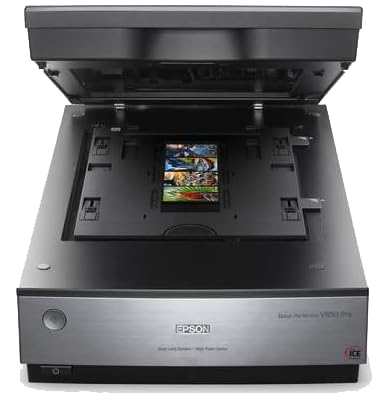
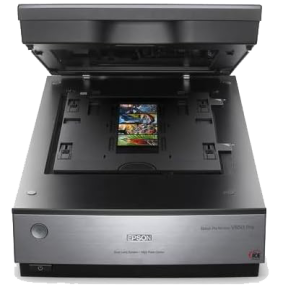
Epson V850 Pro Perfection
- Dual-lens system: 4800 dpi for prints, 6400 dpi for film
- Digital ICE technology removes dust and scratches
- Professional color calibration for accurate tones
- Includes two sets of film holders
- Anti-reflective optical glass for sharper details
Best For
Professional restoration, archival scanning
Canon LIDE300 Flatbed
- Compact and lightweight; USB-powered (no AC needed)
- 2400 x 2400 dpi resolution for everyday scans
- One-touch buttons for quick scan, copy, email functions
- Z-lid allows scanning of thicker items like books
- Affordable option for casual restorers
Best For
Everyday use, lightweight restoration needs
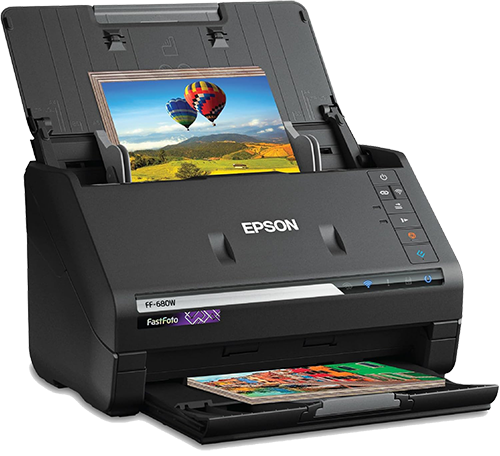
Epson FastFoto FF-680W
- Scans 1 photo per second—super fast!
- Automatic enhancement, red-eye removal, and color correction
- Wireless and USB connectivity with direct uploads to cloud storage
- Scans both sides—including handwritten notes on the back
- Great for digitising large family collections efficiently
Best For
Bulk scanning projects, speed-focused workflows
Color Accuracy and Bit Depth
Photos capture nuance—color gradients, skin tones, subtle shadows. Scanning in standard color (24-bit) limits how well you can restore these in post-processing.
Best Practice:
Use 48-bit color scans when possible
Calibrate your scanner if editing colors later
Save with embedded color profiles to ensure consistency across devices
Scan Clean, Not Just Fast
Dust, hair, and smudges—these show up clearly on high-res scans. They not only diminish the final image but waste time during editing.
Best Practice:
Always clean photos and scanner glass before scanning
Use brushes and air blowers to prep the surface
Wear white cotton gloves to avoid fingerprints and oils
File Formats Define Your Freedom
JPEGs are compressed and discard data to save space. That’s fine for sharing—but terrible for restoration work. Once a photo is “lossy,” you can’t recover what was lost.
Best Practice:
Save your master scan as TIFF or PNG
Use JPEG copies only for sharing or web display
Keep backup copies in cloud or external drives
Think Ahead: What Will You Do With It?
Want to crop, enlarge, retouch, or publish? Start with the end in mind. A scan prepared for one purpose might fail in another.
Best Practice:
Scan once, properly—don’t redo the work later
Future-proof by scanning at high settings even if your current use is small
Consider archival needs: long-term file integrity, metadata, and labeling
From Your Hands to Ours
A Restoration Rooted in Stewardship
We don’t just scan—we steward. By treating each scan like a digital heirloom, we honor both the image and the legacy it carries. Taking the time to scan properly isn’t fussiness; it’s faithfulness. It ensures future generations can hold, edit, reprint, and enjoy what we were entrusted with.
If you’d prefer to entrust your photos to a team, we’re just a message away. Restoration done right is restoration done with care.
Your first rescue mission starts at home with safe storage. When it comes to us, we create a high-resolution, lossless TIFF scan. Your original photo is never altered or harmed.
Using a powerful digital toolkit including AI-powered content-aware fill and colorisation, our artists digitally repair tears, remove stains, and restore color with precision.
An app can’t understand your story. Our experts provide the artistic judgment and historical accuracy needed to preserve the photo’s character, avoiding the strange artifacts of purely automated tools.
We provide a digital proof for your approval. You only pay when you are 100% satisfied. You receive a high-resolution digital file and a beautiful new print, with your original returned untouched.
Experience Photo Restoration Excellence Pay Only If You're Satisfied
Allow our experts to restore your damaged photos with precision and care - satisfaction guaranteed!
You only pay if you are completely satisfied with the results.
It's Simpler Than You Think
1.Get Free Quote
2 Place Your Order
3. Receive Restored Photo
Common Damage Professional Solutions
Click on an issue to see how we bring memories back from the brink.
Seeing Is Believing

Would recommend him for all your photo restoration needs. ????

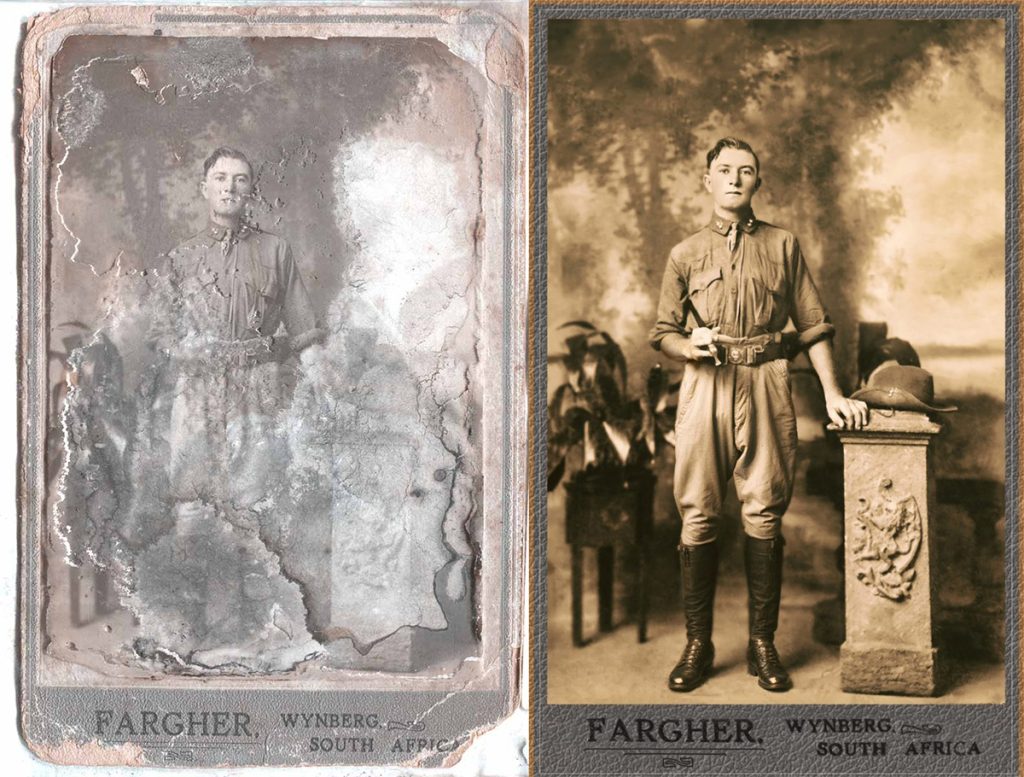


Experience Photo Restoration Excellence Pay Only If You're Satisfied
Allow our experts to restore your damaged photos with precision and care - satisfaction guaranteed!
You only pay if you are completely satisfied with the results.
It's Simpler Than You Think
1.Get Free Quote
2 Place Your Order
3. Receive Restored Photo
Disclaimer: This page contains affiliate links. If you make a purchase through these links, we may earn a small commission at no extra cost to you. This helps support our work in providing valuable photo restoration resources. Thank you for your support!

