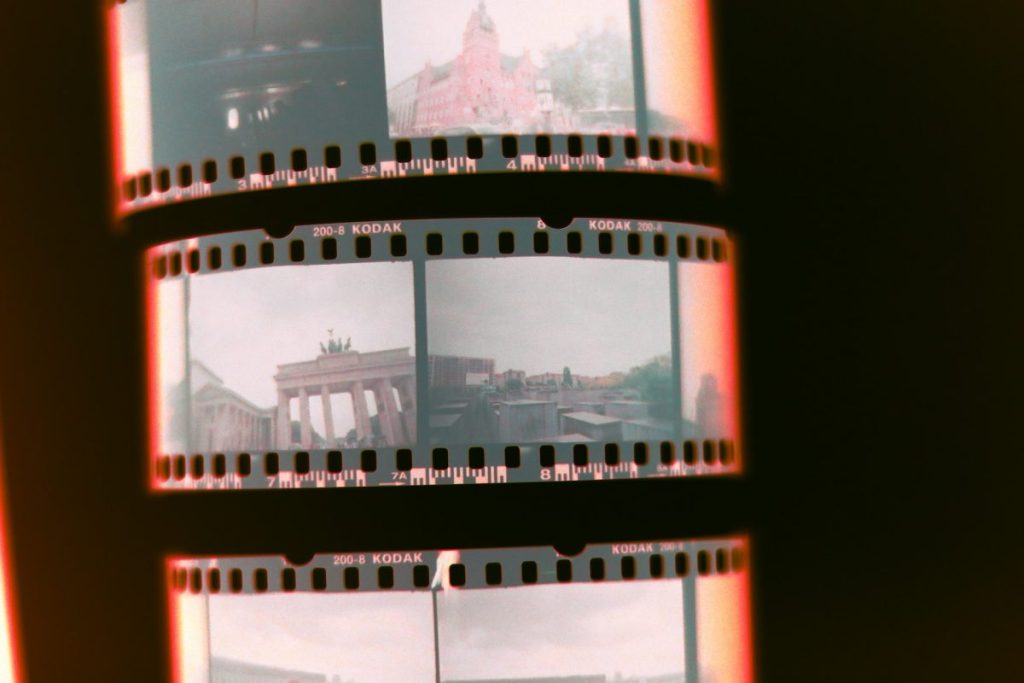
Digitising your old negatives is a fantastic way to preserve cherished memories and bring them into the digital age. Even if you don’t own a specialised film scanner, you can achieve impressive results with a standard flatbed scanner and a bit of creativity. In this blog, we’ll guide you through the process step by step so you can start scanning your negatives at home with ease.
Scanning negatives with a flatbed scanner involves cleaning the equipment, positioning the film correctly, adjusting resolution settings, and using editing software to invert and enhance the image. With the right tools and technique, you can digitise film at home or trust a Melbourne expert like Photo Restoration Rescue.
How to Scan Your Negative Films
Using a Standard Flatbed Scanner
Step 1: What You’ll Need to Get Started
Before you dive into scanning, make sure you have everything you need. Here’s your checklist:
- Flatbed Scanner: Preferably one with high resolution (e.g. Epson V370, V600)
- Negative Film Strips: 35mm or medium format
- Microfiber Cloth: For gentle cleaning
- Light-Blocking Lid or Cover: To prevent glare and external light interference
- DIY Film Holder or Cardboard Frame: Optional but helpful for positioning
- Photo Editing Software: Photoshop, GIMP, Lightroom, or similar
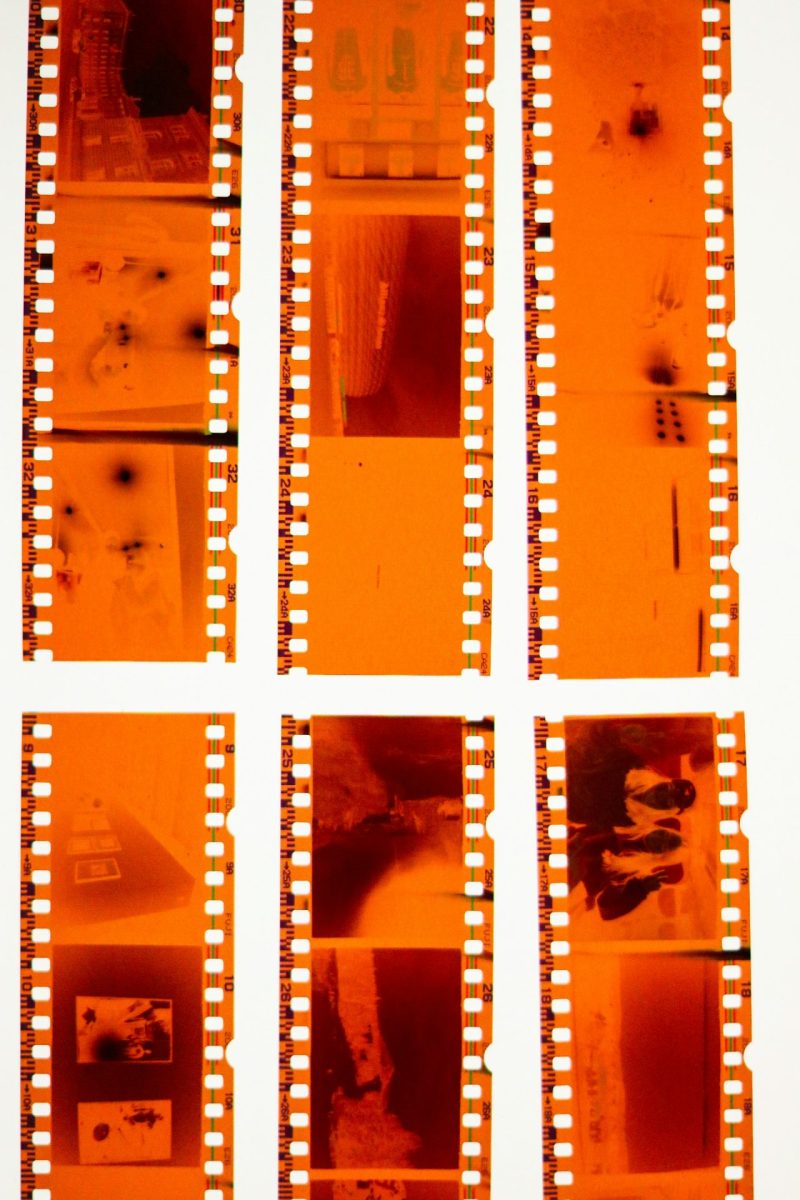
Step 2: Clean Your Equipment and Negatives
Dust and smudges are the enemies of clarity. Begin by:
Wiping the scanner glass with a lint-free cloth and a small amount of glass cleaner (spray onto the cloth, not directly on the glass).
Gently cleaning your negatives with a microfiber cloth. Avoid chemicals or abrasive materials—they can damage the emulsion layer.
Step 3: Position Your Negatives Correctly
Proper placement is key to a successful scan:
Lay the negatives emulsion-side down (shiny side up) on the scanner glass.
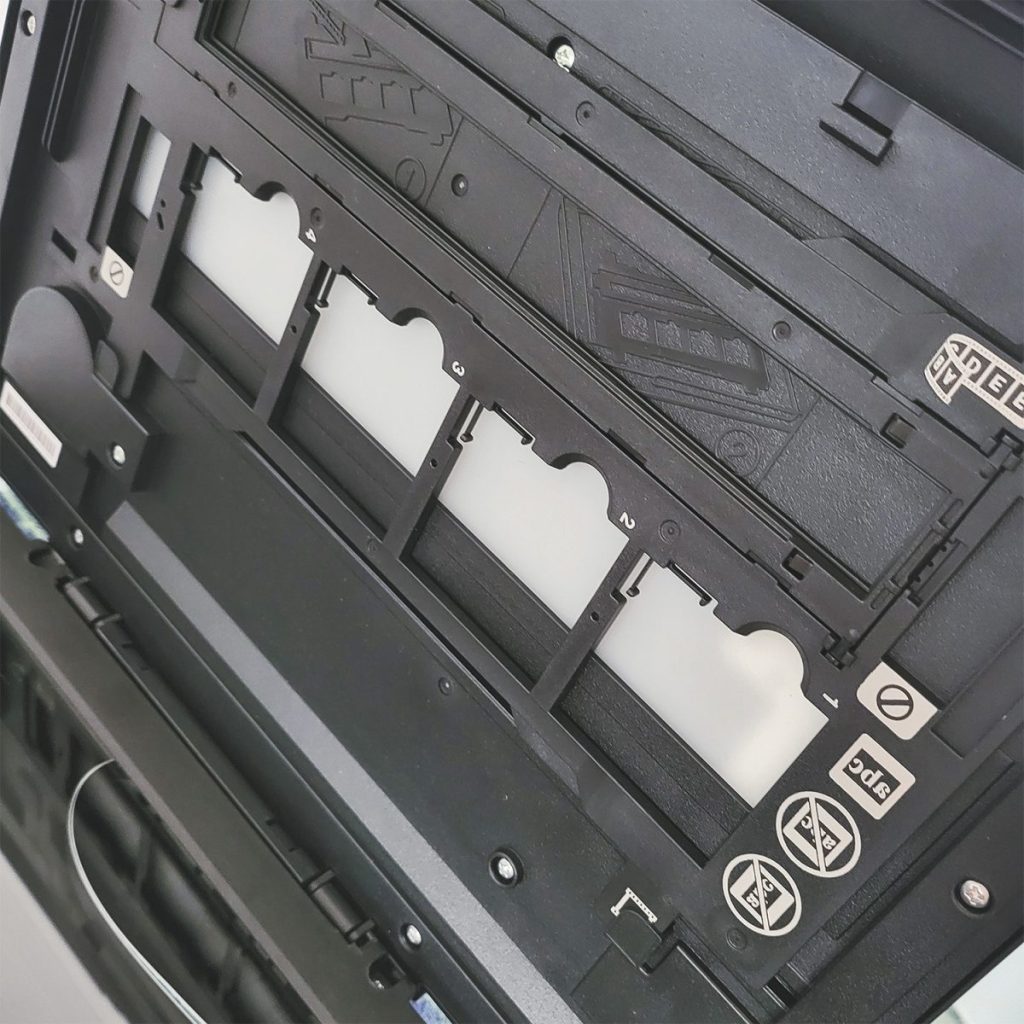
Use a film holder or create a simple cardboard frame to keep them flat and evenly spaced.
Leave space between frames to make cropping and editing easier later.
Step 4: Adjust Your Scanner Settings
To capture fine details, configure your scanner as follows:
Resolution: Set to 2400 DPI or higher
Mode: Choose “photo” or “film” mode
Colour Setting: Select “colour” scan—even for black-and-white negatives, as it captures more tonal data
If your scanner includes a transparency unit, enable it. If not, proceed to the next step.
Step 5: Add a Backlight (If Needed)
Some flatbed scanners lack built-in backlighting for negatives. You can improvise:
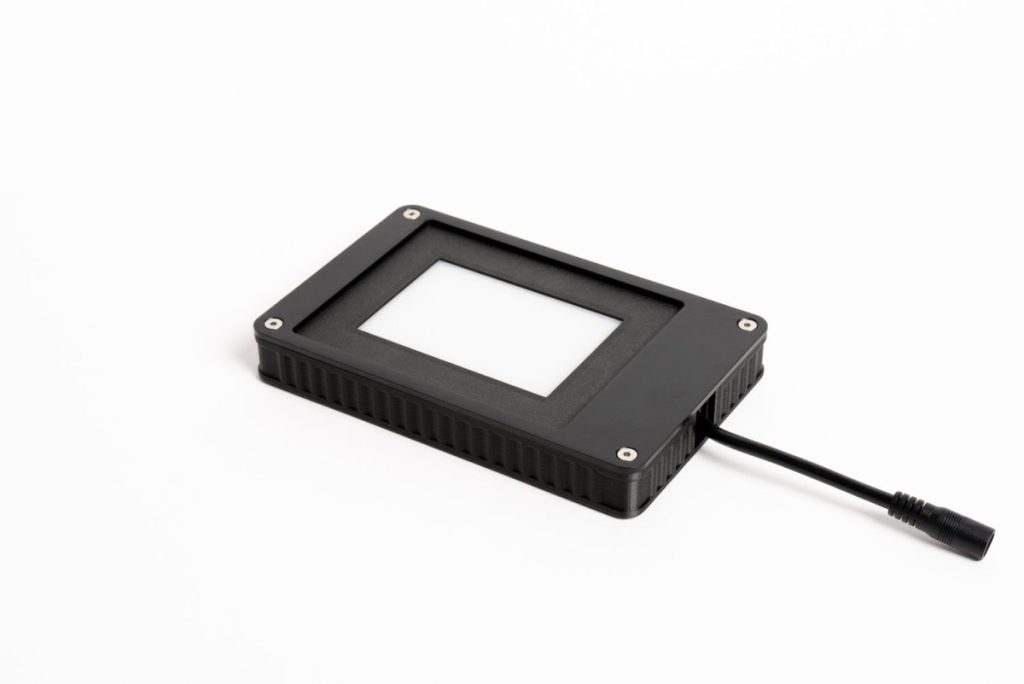
Use a smartphone with a white screen app or a small LED panel as a consistent light source.
Place the light behind the negatives, ensuring even distribution to avoid hotspots or shadows.
Step 6: Scan and Save Your Images
Once everything is in place:
Scan each frame individually or crop them later using editing software.
Save your files in TIFF or PNG format to preserve quality.
Avoid compressed formats like JPEG for archival purposes.
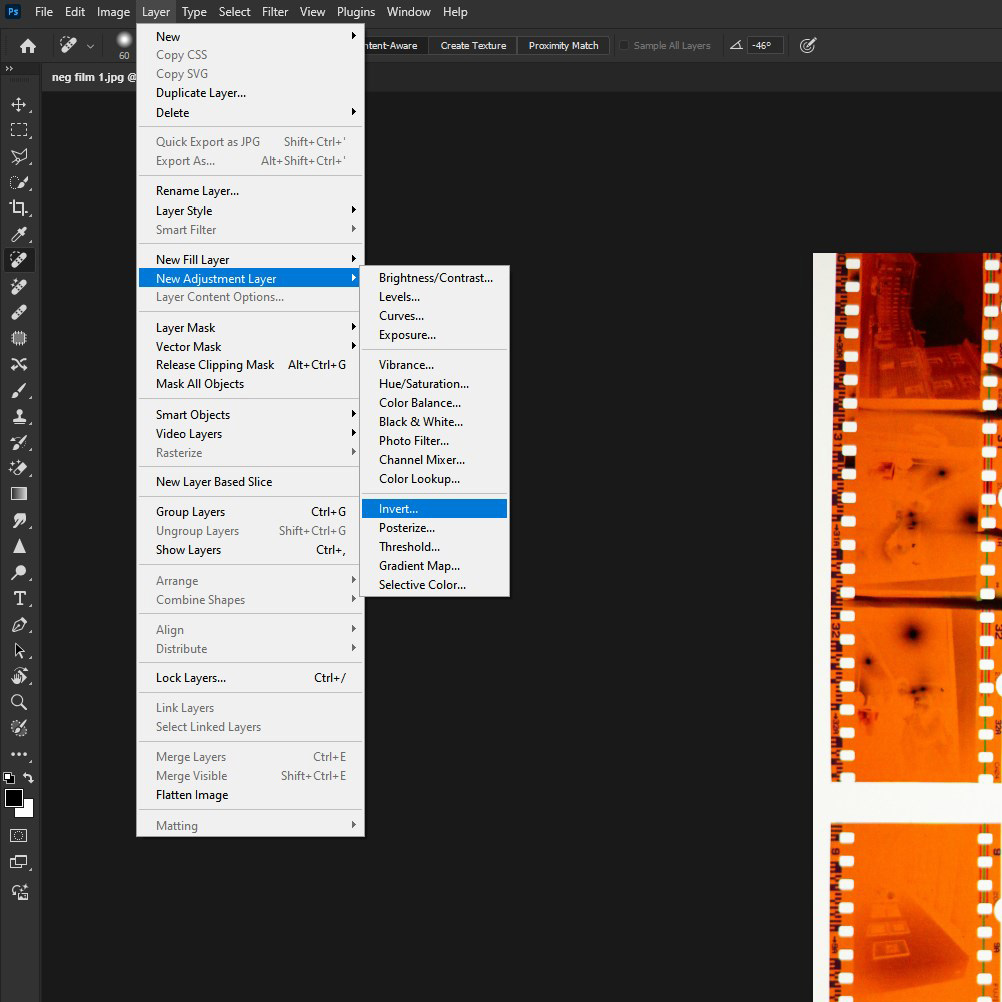
Step 7: Invert and Edit the Scanned Images
Negatives appear with reversed colours, so post-processing is essential:
Use your editing software to invert the colours.
Adjust brightness, contrast, and sharpness to enhance clarity.
Apply dust removal tools or spot healing to clean up imperfections.
Bonus Tips for Better Results
Experiment with scanner settings: Every scanner is different, so take the time to test various configurations to find what works best for your negatives.
Consider a dedicated film scanner: If you’re scanning negatives regularly, investing in a specialised film scanner can deliver even better quality and save time.
Outsource for professional results: For valuable or fragile negatives, professional services like Photo Restoration Rescue can ensure your memories are preserved with the utmost care.
Scanning your negatives at home can be a fun and rewarding project, giving you a chance to reconnect with old memories and share them with others. However, if you need help restoring or digitising your negatives, the team at Photo Restoration Rescue is always ready to assist. Contact us today to bring your film memories back to life!
Why Melbourne Families Choose Photo Restoration Rescue
While DIY scanning is rewarding, it can be time-consuming and technically challenging. That’s where we come in:
Local Expertise: Based in Clarinda, we serve families across Melbourne with precision and care.
Faith-Aligned Values: We honour memory, legacy, and stewardship in every restoration.
Satisfaction Guarantee: You only pay when you’re completely happy with the result.
Flexible Options: Drop off, mail-in, or upload your negatives for professional service.
Frequently Asked Questions
Can I scan negatives without a film scanner? Yes—flatbed scanners with high resolution can produce excellent results with the right setup.
What resolution should I use for scanning negatives? 2400 DPI or higher is recommended to capture fine details and preserve image quality.
Do I need special software to edit the scans? Photo editing tools like Photoshop, GIMP, or Lightroom are ideal for inverting and enhancing your scans.
Experience Photo Restoration Excellence Pay Only If You're Satisfied
Allow our experts to restore your damaged photos with precision and care - satisfaction guaranteed!
You only pay if you are completely satisfied with the results.
It's Simpler Than You Think
