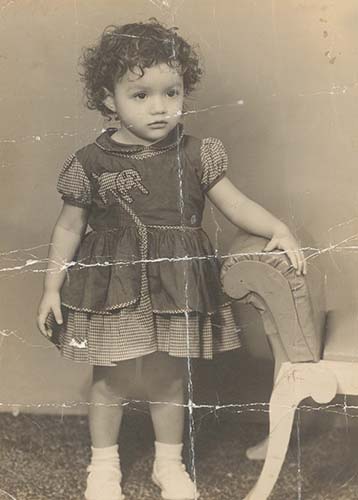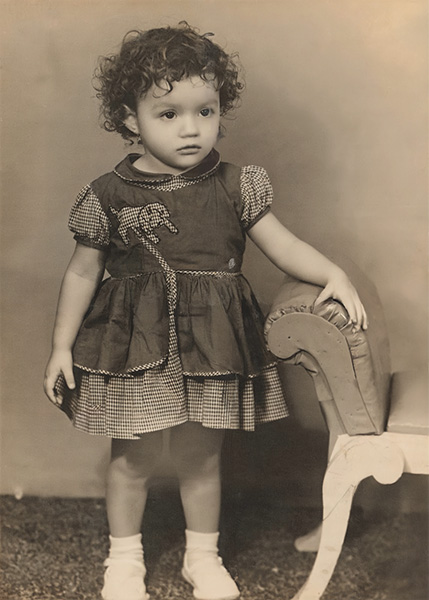
In today’s fast-paced digital world, preserving old photos has never been more important. Whether it’s a treasured family portrait, a fading wedding photograph, or a decades-old snapshot, photo restoration helps to revive these irreplaceable memories. While the process of restoring photos can be a challenge, especially for beginners, mastering the techniques can result in stunning, professional-quality results. If you want to learn how to bring your photos back to life and preserve them for future generations, here are the best photo restoration tips and tricks that will elevate your skills to a professional level.
The Best Photo Restoration Tips and Tricks
Preserving Memories Like a Pro
1. Start with a High-Quality Scan: The Foundation of Restoration
The best photo restoration starts with the most crucial step: scanning your original photo in high resolution. Using a scanner with at least 600 DPI (dots per inch) resolution is essential for capturing fine details and ensuring that your digital image has enough data for editing. It’s important to resist the urge to use a smartphone camera for scanning, as these can introduce uneven lighting, distortions, and lower image quality.
A quality scan allows for the most accurate restoration possible. The higher the resolution, the more detail you can work with, making it easier to repair even the smallest imperfections in the image.
2. Invest in Professional Photo Editing Software
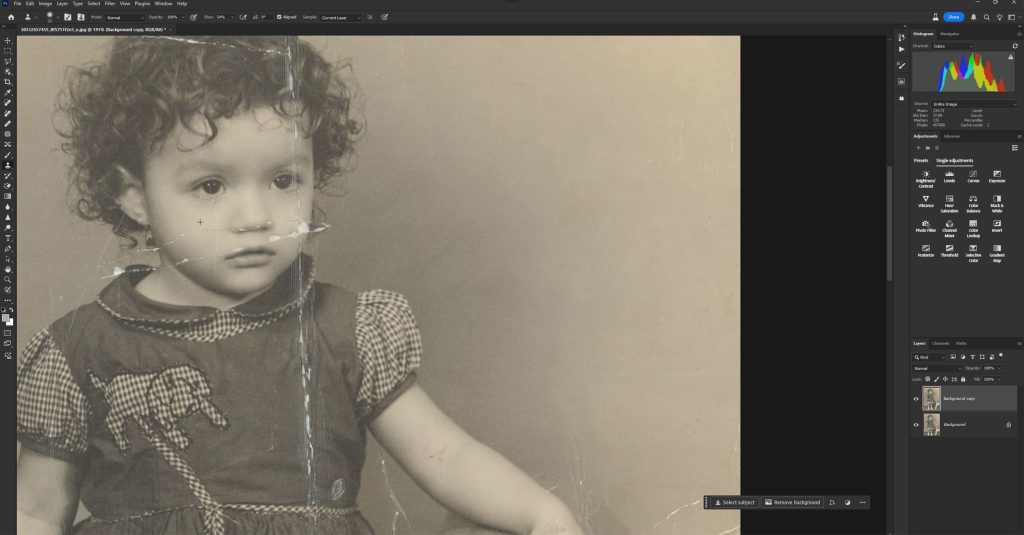
When it comes to the best photo restoration, the software you use plays a vital role in the quality of the outcome. For professional-grade results, programs like Adobe Photoshop, GIMP, or Affinity Photo offer powerful tools such as cloning, healing brushes, and layer masks. These features are essential for restoring damaged photos to their original state.
If you’re new to photo restoration, beginner-friendly programs like Fotor or Canva are a great place to start. While these tools may have fewer advanced features, they still offer basic restoration functions like fixing color, brightness, and minor imperfections.

3. Always Work on a Duplicate of the Original Image
One of the best practices in photo restoration is working on a duplicate of the original image. This ensures that your original photo remains intact and untouched. If anything goes wrong during the restoration process, you always have a backup to return to. It’s also a good habit to save your progress frequently, especially if you’re working on a large or complex restoration.
4. Tackle One Issue at a Time for Better Results
Restoring an old or damaged photo can feel overwhelming if there are multiple issues such as tears, discoloration, or fading. To make the process easier, break it down into smaller tasks. Start by addressing the most significant damage, like large tears or missing sections. Once the bigger issues are resolved, move on to smaller imperfections like minor scratches, dust spots, and discoloration.
5. Master the Clone Stamp and Healing Brush Tools
When it comes to the best photo restoration tools, Clone Stamp and Healing Brush are your best friends. The Clone Stamp tool allows you to copy pixels from one area of the photo to another. This is particularly useful for repairing large areas of damage or filling in missing sections. The Healing Brush, on the other hand, is perfect for fixing small imperfections like scratches, blemishes, and dust spots. It blends pixels from the surrounding area, ensuring the repairs look natural and seamless.
Learning how to use these tools effectively is one of the most important aspects of photo restoration, so take the time to practice and get comfortable with them.

6. Adjust Brightness, Contrast, and Tonal Range
As photos age, they often lose their vibrancy and may suffer from fading or discoloration. Adjusting the brightness and contrast can restore the image’s original pop. However, it’s essential to avoid over-adjusting, as it can lead to unnatural-looking results.
For finer control, consider using advanced tools like Levels or Curves. These features allow you to tweak the image’s tonal range more precisely, ensuring that the photo looks balanced and realistic.
7. Add Realistic Color to Black-and-White Photos
One of the most exciting aspects of photo restoration is colorizing black-and-white photos. Adding color to historical images can breathe new life into them and give viewers a fresh perspective. Use Photoshop’s Color Balance or Gradient Maps tools to add realistic colors to black-and-white photos. Research the era and context of the photo to ensure the color choices are historically accurate, particularly for skin tones, clothing, and backgrounds.
8. Repair Missing or Severely Damaged Sections
When restoring photos that have missing parts or severe damage, you may need to be creative. Refer to other images or patterns within the photo to help reconstruct missing areas. For example, if a corner is torn, you can use textures or colors from nearby areas to fill in the gap. When working on portraits, make sure to pay close attention to facial features to maintain the likeness of the subject.
The goal is to reconstruct the photo as faithfully as possible while ensuring the restoration feels natural.

9. Sharpen and Refine for Final Touches
Once you’ve completed the primary restoration work, the final step is to sharpen the image. Use sharpening tools to bring out fine details such as textures, patterns, and facial features. However, be cautious when sharpening, as too much can introduce noise or create an unnatural look.
This step adds clarity and enhances the details, so your restored photo looks crisp and clear, while still retaining its nostalgic charm.
10. Preserve the Authenticity of the Photo
While it’s tempting to make the photo look brand new, remember that some imperfections give it character and tell its story. The best photo restoration techniques focus on balancing the need for repair with a desire to preserve the photo’s authenticity. Don’t over-edit or remove every flaw—allow the image to retain the charm and emotion it had when it was first taken. After all, these imperfections are what make the photo unique.
11. Store and Print Your Restored Photos for Longevity
After you’ve completed the restoration process, it’s important to preserve your digital photo files. Store your restored images in high-quality formats such as TIFF or PNG to avoid quality loss from compression. Be sure to back up your files in multiple locations, such as an external hard drive or cloud storage.
If you want to print your restored photos, use professional photo paper and printing services that offer archival-quality prints. This ensures that your restored memories will last for decades to come.

Final Thoughts: Becoming a Photo Restoration Pro
The best photo restoration combines both technical skills and artistic intuition. By following these tips and techniques, you can breathe new life into old, damaged photographs and preserve your most cherished memories. With the right tools, patience, and practice, anyone can become a pro at photo restoration, whether you’re working on your personal photos or restoring images for others.
Remember, each photo tells a unique story—your role is to preserve it for future generations to enjoy.
Happy restoring!
Experience Photo Restoration Excellence Pay Only If You're Satisfied
Allow our experts to restore your damaged photos with precision and care - satisfaction guaranteed!
You only pay if you are completely satisfied with the results.
It's Simpler Than You Think
