Happy Fathers Day

393690201 260350023670997 5003302573842562346 n 1 jpg Photo Restoration Melbourne

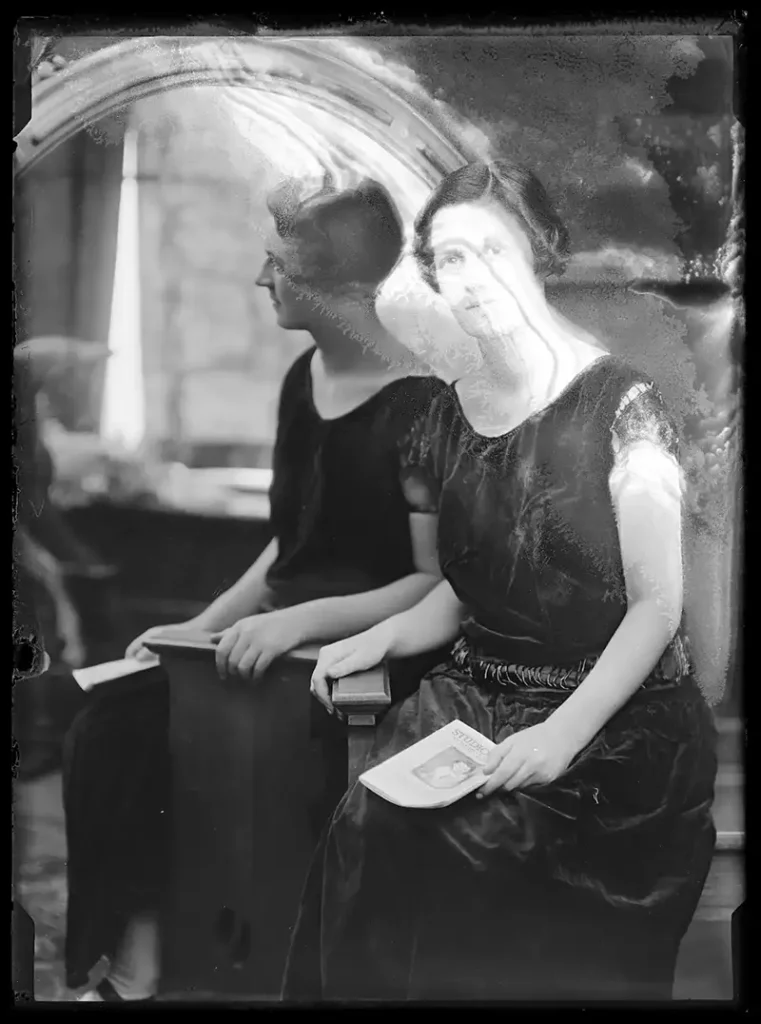
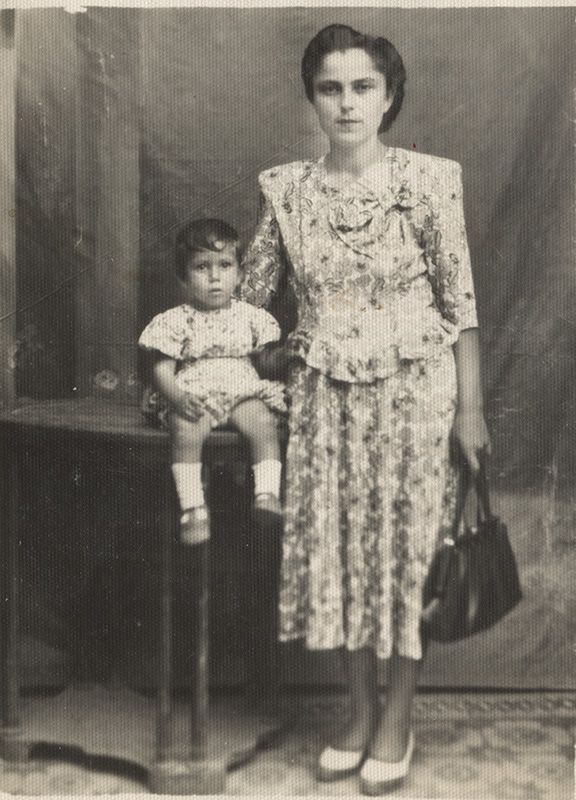
Father’s Day is a time to celebrate the special bond between fathers and their children. While ties, gadgets, and BBQ sets often come to mind as popular gifts, there’s something even more meaningful that you can give this year: the gift of memories. Photo restoration is a unique and thoughtful way to bring cherished memories back to life, making it an ideal gift for Father’s Day. Happy Fathers Day A Great Gift For Dad The Power of Nostalgia Photographs hold the power to transport us back to significant moments in our lives. For many fathers, old photographs capture memories of their youth, the early days of parenthood, or even moments shared with their own fathers. Over time, however, these precious images may have faded, torn, or become damaged. That’s where photo restoration comes in. Why Photo Restoration? Photo restoration is the process of digitally repairing old photos, bringing them back to their original glory. Whether it’s fixing damaged photos with tears, scratches, or fading, or repairing old photos that have deteriorated over time, photo restoration can breathe new life into these treasured memories. This Father’s Day, consider giving your dad the gift of restored photos, allowing him to relive those special moments once again. A Thoughtful and Personalised Gift In today’s fast-paced world, personalised gifts stand out because they show thoughtfulness and effort. Restoring old photographs not only revives the images but also the emotions and stories behind them. Imagine the joy on your father’s face when he sees a once-forgotten photo, now beautifully restored, reminding him of a cherished moment from the past. If you’re in Melbourne, finding a professional service to repair old photos is easier than ever. Photo restoration rescue Melbourne specialise in fixing damaged photos, ensuring that every detail is meticulously restored. Whether it’s a faded family portrait, an old wedding photo, or a snapshot from a childhood memory, we can bring your father’s favourite images back to life. Bringing History to Life Many fathers take pride in their family history and heritage. Restored photos can become heirlooms that are passed down through generations, preserving the legacy of your family. By repairing old photos, you’re not just giving a gift for Father’s Day—you’re preserving a piece of history. Imagine presenting your father with a restored photo of his own father, grandfather, or a special moment from his past. It’s a gift that goes beyond material value; it’s a way of honouring his life and the memories that have shaped him. Convenient and Accessible With the rise of digital technology, photo restoration has become more accessible and convenient than ever. Whether you have physical photos that need repair or digital images that require touch-ups, our photo restoration services in Melbourne can help. We offer online consultations, making it easy to get started with just a few clicks. This Father’s Day, step away from the usual gifts and consider something that truly resonates with the heart. Photo restoration is not just about fixing damaged photos; it’s about preserving memories, honouring the past, and creating a lasting gift that your father will treasure forever. Whether you’re looking to repair old photos or restore a single, cherished image, our photo restoration service based in Melbourne offers a meaningful way to celebrate the special man in your life. Give the gift of memories this Father’s Day and watch as your father’s eyes light up with the joy of reliving the moments that matter most. Go Back

Photo restoration using enhanced detailing

PHOTO RESTORATION MELBOURNE

Photo Restoration Using Enhanced Detailing "Bringing New Life to Your Photos" Photo Restoration Rescue leads the way in photo restoration, leveraging cutting-edge technology and techniques to enhance old photos with unprecedented detail. We ensure natural-looking results while revitalizing cherished memories. The photo we will be working on is of Burt Young. Burt Young was an American actor, best known for his role as Paulie Pennino, the brother-in-law of Rocky Balboa in the “Rocky” film series. Born on April 30, 1940, in Queens, New York, Young has had a prolific career spanning several decades in film, television, and theater. Young’s boxing career, however, was not as prominent or extensive as his acting career. He had a handful of amateur fights but never reached the professional level. At Photo Restoration Rescue, we pride ourselves on our commitment to excellence. We stay at the forefront of technological advancements, constantly seeking out the latest tools and techniques to enhance our restoration process. By harnessing the power of cutting-edge software and innovative methods, we’re able to breathe fresh vitality into even the most weathered photographs. But our dedication to quality doesn’t end with technology – it extends to our approach as well. We understand that each photo holds its own unique story, and our restoration process is tailored to honor that narrative. With a keen eye for detail and a passion for precision, we delicately enhance old photos, adding depth and clarity without sacrificing their inherent charm. One of the hallmarks of our work is our ability to uncover hidden details that may have been lost to time. Through meticulous restoration techniques, we’re able to reveal nuances and subtleties that were once obscured, allowing you to rediscover your photos in a whole new light. And perhaps most importantly, we do all of this while ensuring that your photos retain their natural beauty and authenticity. Step 1: Restoring IntegrityOur journey begins by addressing the most glaring imperfections. In Young’s photo, a missing portion of the top of the head caught our attention. With precision and care, we seamlessly integrated this missing detail, restoring the image to its original integrity. Step 2: Flawless RefinementNext, we turned our focus to refining the finer details. Blemishes and imperfections were meticulously smoothed away, ensuring that Young’s radiant essence shone through every pixel. Through advanced noise reduction techniques, we eliminated distractions, allowing the true beauty of the photograph to emerge. Step 3: Adding Depth and DimensionTo truly bring Young to life, we embarked on a journey of texture. Layer by layer, we delicately added skin and hair textures, infusing the image with depth and dimension. Each stroke brought us closer to revealing the vibrant spirit captured in the photograph. Step 4: The Art of ColourisationWith the foundation laid, it was time to infuse the image with colour. Drawing inspiration from the era in which the photo was taken, we carefully selected hues and tones that would evoke a sense of nostalgia while breathing new life into the scene. The final touches were applied with precision, completing the transformation and bringing Young’s photo to vibrant life once more. Step 5: Celebrating the JourneyAs the last brushstroke fell into place, we paused to reflect on the journey we had undertaken. What began as a faded memory had blossomed into a timeless treasure, ready to be cherished for years to come. With hearts full of pride, we celebrated the magic of photo restoration and the power it holds to preserve the past while shaping the future. In the end, it’s not just about fixing a photo – it’s about honouring the memories it holds and the stories it tells. At Photo Restoration Rescue, we’re committed to breathing new life into every image we touch, ensuring that the moments captured within them live on for generations to come. So if you have old photos that are in need of a little TLC, don’t despair – let Photo Restoration Rescue be your guide. With our expertise, passion, and commitment to excellence, we’ll help you breathe new life into your most treasured memories. Because every photo deserves a second chance to shine. Go Back

How to scan photos

how to scan photos

How To Scan Photos: Mastering the Art of Photo Scanning A Guide to Digitizing Your Memories Embarking on a journey to digitize your cherished memories is like unlocking a treasure trove of nostalgia. In a world constantly advancing in technology, the sentimental value of our physical photographs remains unmatched. This blog post serves as your guide, a roadmap through the process of photo scanning, where we explore the art of preserving the past in the digital realm. Whether you’re a novice seeking to immortalize your family album or a seasoned enthusiast aiming for the perfect digital archive, join us on this expedition as we uncover the secrets, techniques, and joy of transforming tangible moments into timeless pixels. Let’s dive into the fascinating world of photo scanning and unlock the door to a new era of memory preservation. How to scan photos First before you start, clean the glass of the scanner with soft, lint-free cloth. Remove dust and debris from photos using a gentle brush or compressed air. Organize photos based on how you would like to archive the photos so you can streamline the whole scanning process. Configure Scanner Settings Set the scanner resolution (DPI) based on your needs. Higher DPI (e.g., 600-2400) is ideal for preserving details and scanning a small photo for a bigger print, while lower DPI (e.g., 150-300) is suitable for sharing on the web or emailing to family and friends. Understanding how DPI affects scanned photos is paramount for achieving optimal results in your digitization journey. Resolution and Detail: Higher DPI settings result in greater image resolution and detail. When you scan a photo at a higher DPI, the scanner captures more information, allowing for a more faithful reproduction of the original. This is particularly important for preserving fine details such as textures, facial expressions, or intricate patterns. Print Size: DPI also plays a role in determining the potential print size of a scanned photo. Higher DPI scans can be enlarged without sacrificing image quality. If you plan to print your scanned photos in larger formats, opting for a higher DPI setting during scanning is advisable. File Size: Higher DPI scans typically result in larger file sizes. This is because more information is being captured per inch, leading to more pixels and, consequently, a larger file. Consider the storage capacity of your devices and the intended use of the scanned photos when choosing a DPI setting. Editing Flexibility: Higher DPI scans provide greater flexibility during post-processing and editing. Whether you’re cropping, resizing, or making adjustments to color and exposure, a higher DPI original gives you more room to work with without compromising image quality. Web Display vs. Print: The standard DPI for web display is often lower than that required for high-quality prints. If your scanned photos are primarily intended for online sharing, a moderate DPI might suffice. However, for archival purposes or if you plan to print the photos, a higher DPI is recommended.   In essence, the choice of DPI in photo scanning is a balance between capturing fine details and managing file sizes. Consider your specific needs, the intended use of the scanned images, and the capabilities of your scanner when determining the optimal DPI setting for your photo scanning project.   Preview Scans: Take advantage of the scanner software’s preview feature before committing to the final scan. This step allows you to see a preview of how the scanned photos will appear and gives you the opportunity to make adjustments. Use the cropping tool to define the scanning area for each photo precisely. This helps eliminate unnecessary borders or unwanted portions that might have been captured during the initial placement. Adjust the rotation of photos as needed to ensure they are straight and aligned correctly. Crooked scans can be distracting and diminish the overall quality of the digitized image. Check the settings for color mode, resolution (DPI), and file format to confirm they align with your preferences and the desired quality of the final scans. If your scanner software allows, consider applying basic enhancements during the preview, such as adjusting brightness, contrast, or color balance. However, be cautious not to overdo it, as you can make further refinements later using photo editing software. Take note of the file size for each scan during the preview. This can help you manage storage space and choose the most suitable resolution for your specific needs. Once satisfied with the preview, proceed to initiate the final scan. If multiple photos are placed on the scanner bed, the software may prompt you to save each one separately or as a batch, depending on your preference. Utilize the preview stage to efficiently organize and sequence your scans. This is particularly helpful when scanning a collection of photos with specific chronological or thematic order. Naming conventions and organization can be adjusted based on the visual arrangement in the preview. Regularly check the preview screen for any anomalies, artifacts, or issues that may affect the scan quality. Addressing these before the final scan ensures that your digitized photos meet the desired standards.   Scan the Photos: Save scanned images in a preferred format (e.g., TIFF, JPEG, or PNG) and designate a location on your computer.   Choose Image Format: When deciding on the format to save your scanned photos, consider the characteristics of each: TIFF (Tagged Image File Format), JPEG (Joint Photographic Experts Group), and PNG (Portable Network Graphics) are three popular image file formats, each with its own characteristics and best-use scenarios. Understanding the differences between these formats is crucial for making informed decisions when saving or sharing images.   TIFF (Tagged Image File Format): Compression: TIFF files can be either uncompressed or use lossless compression. The uncompressed option retains all image details but results in larger file sizes, making it suitable for high-quality prints or archiving. Color Depth: Supports various color depths, including grayscale and CMYK. This flexibility makes TIFF suitable for professional printing and image editing. Transparency: Can support transparency, but not as commonly

Photo Restoration Sydney

Photo RestorationSydney “Bringing memories back to life” Bring Your Old Photos Back to Life With Professional “Photo Restoration Rescue” If you’re a resident of Sydney and you’re looking for a professional photo restoration service, then you’ll be happy to know that Photo Restoration Rescue is here to help you revive your precious memories! We are dedicated to bringing your old and damaged photos back to life, providing you with an exquisite and timeless representation of your memories. Our team of experienced professionals uses the latest digital technologies and techniques to provide you with the best possible photo restoration services. From simple background clean-up to complex repairs and enhancements, we can help you restore your photos to their former glory. Our services include colourisation, blemish removal, background replacements, dust and scratch removal, and more. We understand the importance of your photos and always treat them with the care and attention they deserve. We believe that your memories should be cherished, and we’re here to help you preserve them. Whether you have a single photo that needs to be restored or a large collection, our photo restoration services are designed to meet your specific needs. With our professional and efficient photo restoration services, you can be sure that your memories will be treasured for generations to come. So why wait? If you’re looking for professional Photo Restoration Sydney, then contact us today! We’re here to help you restore your memories and keep them safe for years to come. Free Photo Prints For a limited time only, Photo Restoration Rescue is offering a special promotion. For every photo you restore with us, you will receive a complimentary print of your restored image. Don't miss out on this opportunity to bring your treasured memories back to life and receive a beautiful, high-quality print at no extra cost. Hurry and book your restoration service now before this offer expires! Contact Us Free Photo Prints For a limited time only, Photo Restoration Rescue is offering a special promotion. For every photo you restore with us, you will receive a complimentary print of your restored image. Don’t miss out on this opportunity to bring your treasured memories back to life and receive a beautiful, high-quality print at no extra cost. Hurry and book your restoration service now before this offer expires!” Contact Us Let Us Help You Restore Your Photos: Here’s How to Get Started Thank you for choosing us. These are the following Steps to take so you can get your precious memories restored. 1. Contact Us Contact us for a accurate quote. 2. Send Us Your Photos Have a read of the "Next Step" page and choose how you will send us the photos or videos to restore. 3. Final Product We will send you your digital files and hard copies back to you by your choosen method. Pick-Up & Drop-Off If you are in Melbourne, Victoria, we offer a pick-up/drop-off service. Contact us for more details. Learn More

Call Now Button